Showing posts with label sewing. Show all posts

Friday, 27 January 2012

Mocador pel coll

No sé d'on em va venir la idea, però li he fet un mocador pel coll a la meva neboda. He comprat una tela de rebaixes a "Lotti's welt" i una cinta de pom-pom rosa (rosa, segur que li agrada!). La noia de la botiga em va dir que fes una triangle de 80 cm de llarg, i que sol posés cinta a dos costats. Al final em va quedar un mocador més petit, ja que com que era la primera vegada que ho feia, vaig tenir algunes problemes posant la cinta.


Ah i també li vaig fer el mateix mocador a la Cornelia!


I'm not sure where I got the idea from, but I did a fabric scarf for my nice. I bought a fabric that was on sale and some pom pom band. And I did the same one for Cornelia!!!

Monday, 23 January 2012

El pijama de la Cornelia

La Cornelia ja té pijama. A la foto no es veu, però li ha quedat una mica petit... és que com que sòc de les ràpides (veure blog "Paraules Petites") , sòc una mica chapucera... però dona el pego i segur que la meva neboda estarà contenta!

Finally Cornelia has gotten a pijama! It is a little bit short (you cannot see it on the picture) but as I don' have any pattern, I just do whatever I think is best, and this time it is a little bit short...

Friday, 6 January 2012

Més vestits per la Cornelia

Aquestes vacances la meva neboda m'ha dit que a ella li agradava la Cornelia perquè tenia vestits i li podia cambiar els vestits. Pero que la Cornelia no tenia pijama per anar  a dormir! Així que ara li he de fer un pijama, perquà la Cornelia no hagi de dormir vestida. Potser li faré alguna altre peça de roba, per fer esport per exemple.

This holiday my niece told me that she liked Cornelia because she could change her clothing. But Cornelia doesn't have a pijama! So now I will do a pijama, so Cornelia doesn't need to go to sleep with her normal clothing. Maybe I will do something else, like some sports clothes...

Friday, 25 November 2011

Bosseta

Ultimament no posto gaire. No és que no faci res, però tot ho preparo per la boda, i com que vull que sigui sorpresa, no puc penjar res (després de la boda, ja postaré fotos de tot!). Així que de moment, unes fotos de una bosseta molt senzilla que em vaig fer per dur al bolso.

Lately I don't post much. It is not that I'm not doing anything, but everything for the wedding, and as I want it to be a surprise, I cannot show anything. So for the moment, just a very simple small bag that I did to carry the small stuff that I have in my handbag.


Wednesday, 19 October 2011

Cornelia

Comencem amb el que he fet més recentment: La Cornelia. La Cornelia és una nina suissa amb orígens anglesos (el patró ve de un llibre anglés que em va regalar el meu germà). Aquí teniu la Cornelia amb varis modelets que li he fet. Em pensava que seria més complicada de fer del que és.
1.- Vestit modernillo amb detall de cinturó:


2.- Un model una mica més floral:


3.- I no podia faltar el model núvia!


Let me introduce you to Cornelia, a swiss doll with English origins (the pattern comes from a english book my brother gave me for Christmas). I have done different clothes, including a wedding dress!

Wednesday, 18 May 2011

Phildar patterns

Catalogue Printemps n°50


Sempre trobo que totes les revistes que hi han de costura o de fer mitja als quioscos son bastant lletges. Tot és com una mica cutre, o molt senzill... no sé, a mi no m'acaben d'agradar. En canvi les de Phildar no tenen mala pinta (però no sé si només estàn en francés... ). Jo tinc la de aquesta temporada i hi han vàries coses que no estàn mal! (i que intento fer amb la màquina de fer mitja perqué les instruccions per fer el jersei amb la màquina també estàn incloses... ).

I always think that the magazines that you found in kiosk around sewing and knitting are not very good. Everything is very simple and not really nice, at least I don't like them. But the ones from Phildar are not bad (not sure if they are only available in French). I have the one fro this season and there are several interesting patterns (that I try in vain to do with the knitting machine, because you also have instructions on how to do them on the machine...)

Monday, 9 May 2011

Classes de costura

Avui he anat a la meva primera classe de costura a Pom Pon . Tot i ser tard, i després de un dia molt llarg, m'he divertit molt. Estic fent un vestit (baby doll) . Hem començat fent una proba amb una tela barateta i va molt bé per aprendre.

Today I went to my first sewing clases at Pom Pon. Even if it was late and I had a long day, it was very funny. I'm doing a baby doll dress. We started doing a trial with a simple fabric and it is great to learn!

Thursday, 14 April 2011

Lo prometido es deuda

He acabat les sabatilles per la meva germana (no puc més de fer aquestes sabatilles!!). He cambiat el ric-rac per una altre cinta, que resulta més fàcil de cosir i m'agrada com queda! Espero que aquestes no siguin massa petites.


I finished the home slippers for my sister (I'm a little bit sick of doing slippers!). I changed the rick- rack for another kind of ribbon, that it's easier to sew and that looks nice. I hope this ones will not be too small...

Tuesday, 12 April 2011

Cap de setmana de costura - faldilla 2


Aquesta faldilla es fa molt molt molt ràpid. Necesita un tros de tela molt gran, perqué es talla una rodona sencera, però es cus realment molt ràpid. Té un elàstic a la cintura, cosa que fa que s'hagi de portar amb una camiseta una mica llarga perqué no es vegi, però l'elàstic la fa molt còmoda i s'adapta a variacions de pes :-) .  Trobo que em va quedar una mica curta, però ara ja sé que hauré de tallar una mica més de roba la pròxima vegada.

This skirt is done really really quick. You only need a big piece of fabric, as it is cut in only one bit. There is an elastic band on the waist so you have to wear a long T-shirt so it won't show. But it is very comfortable and adapts to weight changes :-). Next time I will do it a little bit longer, it looks just a bit too short for me now.

Sunday, 10 April 2011

Cap de setmana de costura

Aquest cap de setmana he cosit molt. El sol i la llum que entra a casa em donen ganes de cosir! Aniré "postant" les diverses coses que he acabat, però començo per el que m'agrada menys. Volia molt fer una faldilla del weekend sewing, una faldilla llarga molt estiuenca. Ho volia fer amb una roba de floretes. En vaig trobar una verda que em van encantar i es podia combinar amb una de puntets per fer la cintura de la faldilla. Quedava monissim! Resulta però que no hi havia prou roba verda (es necessiten 2.50 m per fer la faldilla). Llavors ja no sabia que fer. M'agrada molt els punts i les flors juntes! Tenia dos options: escollir una roba de flors groga i fer-ho tot amb la mateixa roba o fer una combinacio una mica rara de la roba verda i de puntets. Endevineu que vaig escollir... A veure quan aprenc a no ser tan impacient i a pensar les coses dues vegades, la faldilla no està malament, però tota groga hagués sigut millor! Per cert, la faldilla no està totalment acabada, falta fer el baix (que es fa a mà)

This weekend I have been sewing a lot. The sun and the light that I have on my sewing room make me want to sew! I will post the different stuff that I have finished, but I begin with what I like less. I wanted to do a skirt from weekend sewing, a long summer skirt. I wanted to use a flower fabric. I found a green one that I really liked and that I could combine with one dotted fabric for the belt. I looked great! But then it turned out there wasn't enough green fabric (you need quite a lot for the skirt). I didn't know what to do, I really like the combination! I had to options, either choose a yellow fabric and do everything with the same or then make a somehow weird combination of the green and dotted ones. Guess what I have chosen. I guess I have to learn  not to be impatient and think twice. The skirt is not bad, but it would have looked much better all in yellow! The skirt is not yet finish, the hem is missing!


Sunday, 3 April 2011

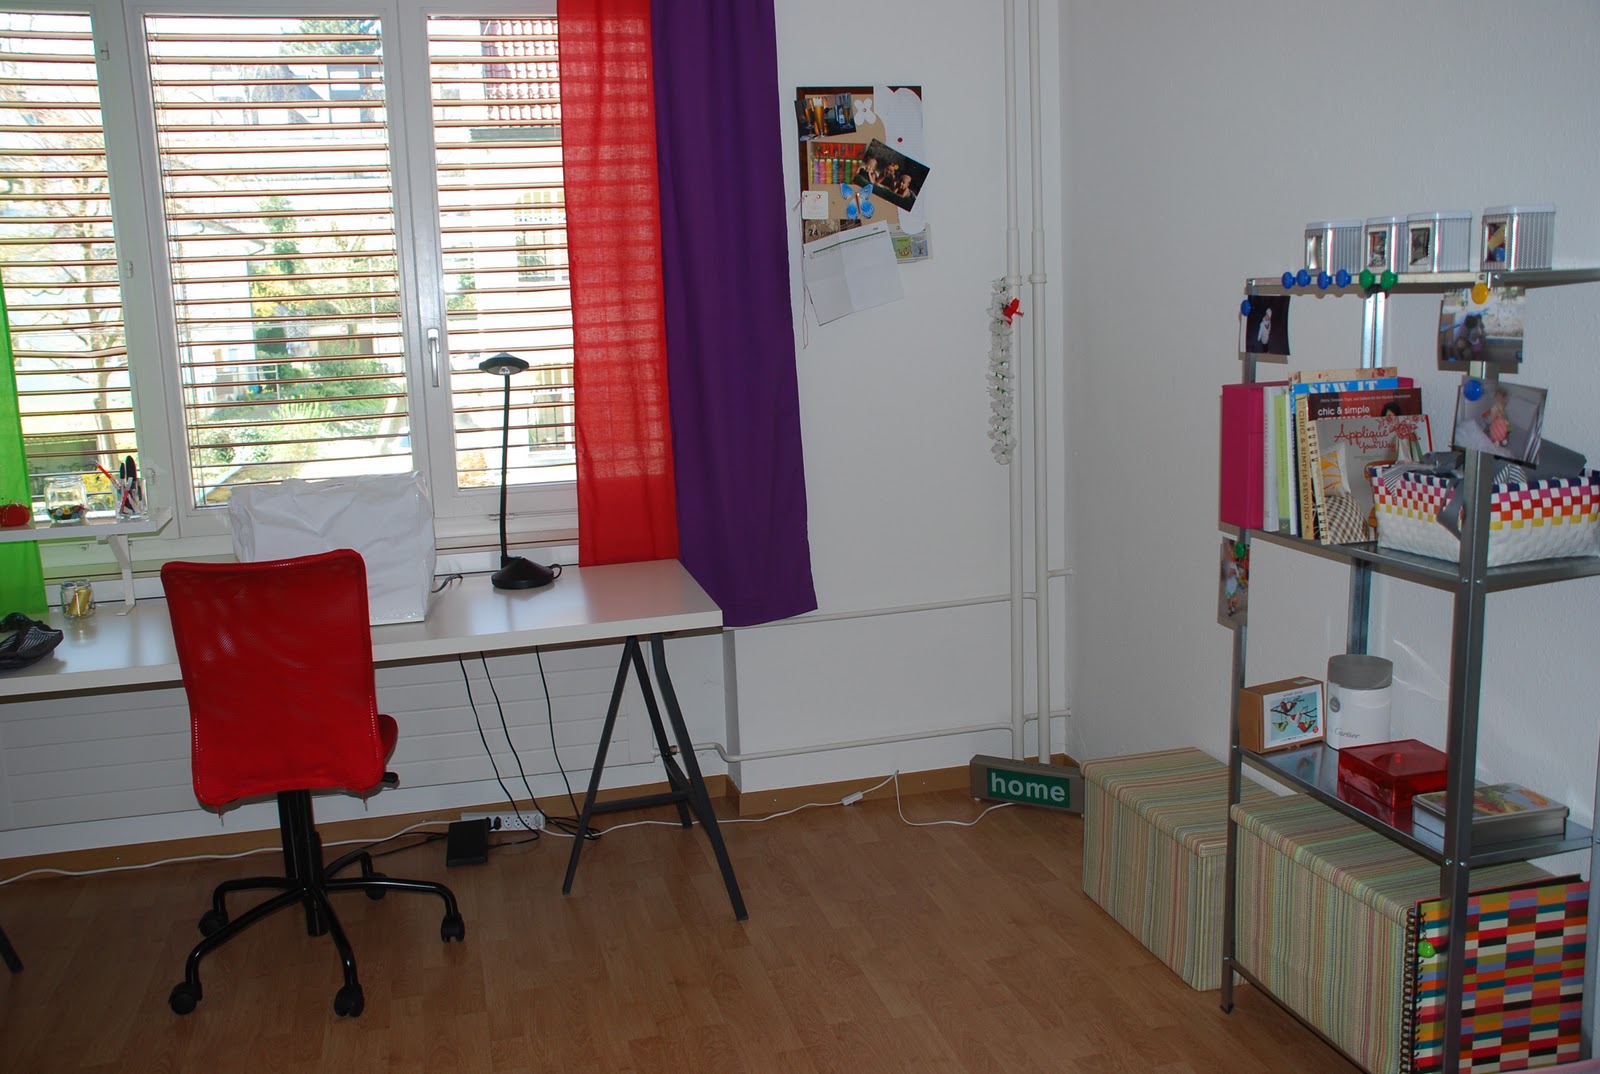
Canvis en el meu "atelier"

Avui hem anat a Ikea (hem aconseguit comprar tot el que necessitavem en una hora!!! estem impresionats de la nostra eficàcia). I hem cambiat una mica la habitacio de convidats/zona de costura. Hem comprat una estanteria molt senzilla i que jo trobo que queda bastant bé, és pràctica per guardar tot i a més és magnètica i puc penjar fotos i coses! Quan afegeixi el que em van regalar pel meu cumple (ja ho veureu... ) quedarà perfecte!


Today we went to Ikea ( we manage to get everything we needed in one hour, we are very proud of ourselves). We changed a little bit the guestroom/ sewing area. We bought a very simple shelf that I think looks good, is practical and is magnetic and I can hang photos and other things! When I will add the gift that I got from my birthday it will look great!

Sunday, 27 March 2011

Quan els mosques tenen set el mosquits volen tabaco III


El meu pare ja fa temps que espera que li faci alguna cosa, a mitja o cosint. Com que viatja molt, vaig decidir fer-li unes sabatilles de viatge. Vaig haver de modificar una mica les instrucctions que feia servir perqué eren una mica femenines. Vaig comprar unes teles una mica series i elegants i aquest és el resultat! De fet, vaig haver de fer les sabatilles dues vegades, em vaig equivocar i les vaig fer massa petites!

My father has been waiting for a long time that I sew or knit something for him. As the travels a lot I decided to do some slippers for him that he can take when travelling. I had to modify a little bit the pattern I had, as it was quite feminine. I bought some serious and elegant fabrics and here is the result! In fact I had to do them twice, as I made a mistake and did them too small!

Friday, 25 March 2011

Sorpresa sorpresa


De regal per una amiga li vaig preparar un dia sorpresa. I per comunicar-li on havia d'estar i el que necessitava, li faig "codificar" el missatge en un drap de cuina.  Vaig afegir els missatges en uns dibuixos que vaig imprimir en un paper especial i planxar en roba blanca de coto.  Amb una cinta en "ric-rac" per els "bordes" i ja està, fet! És molt fàcil de fer i jo trobo que m'ha quedat bastant bé.


As a gift for a friend I prepared her a suprise day. To tell her where she needed to be and what she needed to bring, I "codified" the message in a dishcloth. I added the message to some drawings that I printed in a special paper and iron into a cotton white fabric. With a ric-rac ribbon for the edges and that's it! It is really easy and quick to make and I think that it looks quite good!

Thursday, 27 January 2011

Més sabatilles


Aquí unes altres sabatilles del llibre Weekend Sewing. Aquesta vegada he fet una bossa per portar les sabatilles (ara són sabatilles de viatge).

Here another pair of slippers done with the pattern from Weekend Sewing. This time I made a bag to carry them, so they are now Travel Slippers!

Sunday, 16 January 2011

Pijama


Uns 6 mesos més tard d'haver comprat la tela, finalment m'he decidit a fer el pijama! L'he fet com els altres que havia fet d'estiu, però aquesta vegada amb pantalons llargs i a més hi he afegit butxaques (m'han quedat una mica baixes però tampoc és un drama!

6 months after buying the fabrics, I finally did the pijama! I did like it did the summer ones, following the Weekend Sewing pattern (see older posts), but this time with longer pants and I added the pockets (they are a little bit low, but it is not that bad!)

Tuesday, 11 January 2011

Instruccions per cosir una bossa per joguines - Toy Bag Tutorial


(English below - this is my first tutorial, so I'm sorry if instructions are not 100% clear... )

Aquesta bossa està pensada perqué es pugui omplir i tancar fàcilment . Jo la utilitzo per guardar uns animals de fusta de la meva neboda, però es poden trobar mil altres utilitats!
La gràcia de la bossa sòn les teles,  és trobar dues teles diferents però que vagin bé juntes i una tercera tela o cinta.

Es necesita:

·         2 Teles de més o menys de , o de la grandària que es vulgui fer la bossa (en el meu cas)
·         1 cinta de més o menys   (o dues diferents, una per cada banda)
·         Fil d’un color que vaig bé amb la tela que quedarà per fora


Es comença tallant les teles del mateix tamany. Després s’ajunten del revés (és a dir la part interior de la tela per fora) i es cusen pels laterals.


Es planxen les costures cap a un costat i es dona la volta a les teles.

S’agafa el dalt  i es plega en dues vegades (una vegada, es planxa, i després una altre). Es cus per sota, de manera a que quedi espai per fer pasar la cinta.  A les puntes, perqué quedi més maco, jo les doblego endins a la primera volta i ho planxo.


Es fa el mateix amb la part de sota.
Dobleguem la bossa ajuntant la part de dalt i la part de baix.
Es pasa la cinta que tancarà la bossa per el “dalt” i el “baix”. La mateixa cinta passa per les dues parts , i surt del mateix costat que ha entrat. D’aquesta manera quan estirem les dues cintes, la bossa es tancarà.


Amb una agulla de cap, engatxem la cinta a baix de la bossa com a la foto (tindrem dos trossos de cinta, els hem de tenir engantxats junts.


Cosim els laterals de la bossa, intentant cosir bastant arran, i fent atenció a ben cosir la part on hi han les cintes (es pot cosir vàries vegades per reforçar la costura).

Es dona la volta a la bossa i “voilà”!


English


This bag is done so that it can be opened and closed easily. I used it to keep some wooden animals of my niece, but you can find thousand other applications.  To make the bag look good you, you need to combine 2 nice fabrics that are different but go good together.

You will need:

·         2 fabrics, more or less of  ( or any size you like)
·         1 ribbon of more or less   (you can also use 2 different ribbons, one for each size)

You begin cutting the fabric with the same size.  Afterwards you put them together, but upside down (the good faces of the fabric are facing each other) and you sew the laterals.


Iron the seams and you turn it inside out.


You take the top part and you fold it twice (first one, you iron it, and then again).  You sew near the seam, so that you have space to put the ribbon in between. I fold the sides a little bit, so they will look nice.


Do the same on the other side and fold the fabric, putting the top and the back together, the exterior part of the bag on the interior.  

Put the ribbon on the “top” and the “bottom”. The same ribbon goes through both sides, and goes out on the same side that went in. That way, if you pull on the 2 ribbons at the same time, the bag will close.


The ribbons have to then be pinned at the bottom of the bag, as in the picture. (make sure that you pin both ribbons at the same distance from the bottom) .


You sew the laterals, making a small seam, and making sure that you sew the ribbons strong enough. You turn it around and “voilà”.


Thursday, 6 January 2011

More Purl Bee

Aquest cop és la meva germana que ha anat a New York i que m'ha portat teles del Purl Bee!

This time it was my sister that went to NY and that brought me some fabrics from the Purl Bee!